Odoo ERP (Enterprise Resource Planning software) can be connected to and used as a data source with a DocFusion connector. This guide shows you how to setup and use the DocFusion connector during template design-time.
Add the Odoo property
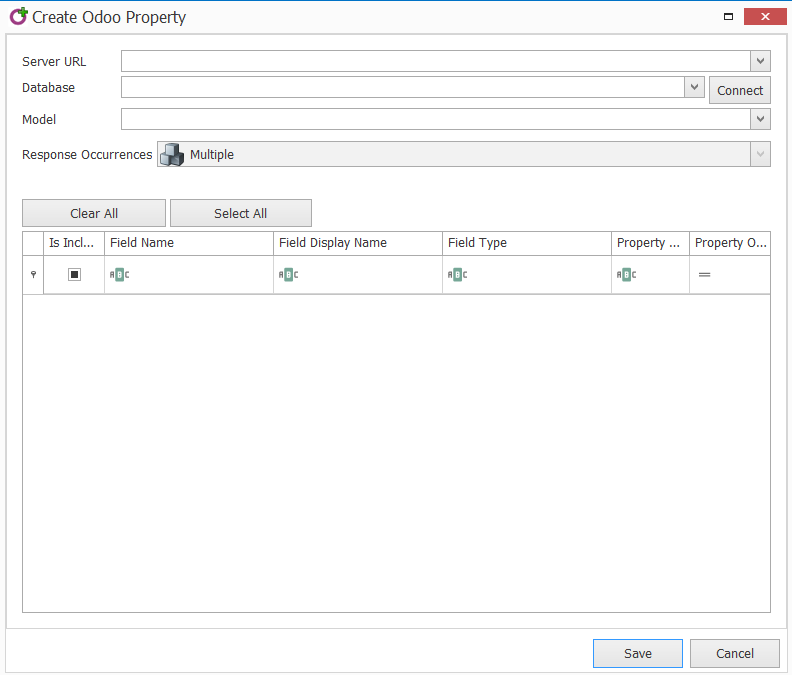
Open the template's Data Model from the View menu in the DocFusion ribbon bar. Now, click Create Odoo Property in the toolbar. This opens the connector dialog.
Authenticate
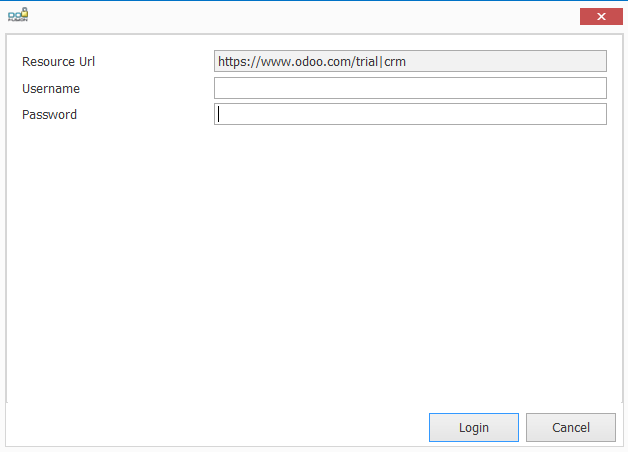
Connecting and authenticating with Odoo requires a Resource URL and Database (the Odoo module) selection. Fill-out the details of both fields in the connector dialog and hit Connect. The authentication dialog opens.
The DocFusion connector supports basic authentication, so provide a valid username and password, then click Login.
It may take a few moments to establish a connection. If authentication was successful, you will be returned to the connector dialog. Otherwise, amend your credentials and try again.
A status icon alongside the Server URL indicates the success or failure of your server connection, along with a relevant error message if any.

Configure the data source
Select the Odoo Model for the selected database. Your selection populates the list of available fields below.
An Odoo model is a class that corresponds to a data relationship (table), and includes all necessary fields and behaviors for the data being stored. In most cases, a model is associated with a single database table.
Next, specify the Response Occurrences.
Currently, DocFusion only the supports Multiple option, which indicates that data returned from Odoo will be tabular, with rows and columns.
Now, use the Is Included checkboxes in the table to select those data fields that you would like import to your templates data model as properties of the data source.
When you're done, click Save. You will be returned to the Data Model pane where you can verify that the selected data fields were added to the template's schema.