To initiate changes to any automation asset in Workbench, you must first check-out the file. While working on it, the file remains locked so that concurrent changes that could render it dysfunctional are prevented. Locked files can still be viewed by other users in read-only mode.
When making changes, follow the steps below to check-out the relevant automation assets:
Verify the item status
In Workbench, navigate to the file you want to work on. Verify that it isn't already locked by hovering your mouse over the Version Control Status icon, third from the left in the row.
If a green checkmark overlays the icon and the tooltip reads 'Checked-out', then you cannot check this item out until it is checked back in again. If, however, the tooltip reads 'Not Checked-out' then proceed to the next step.
Lean more about status icons in this overview...

Check-out the item
With the item selected in the Asset pane, click Check-out in the Items menu. The wizard opens to guide you through the process.
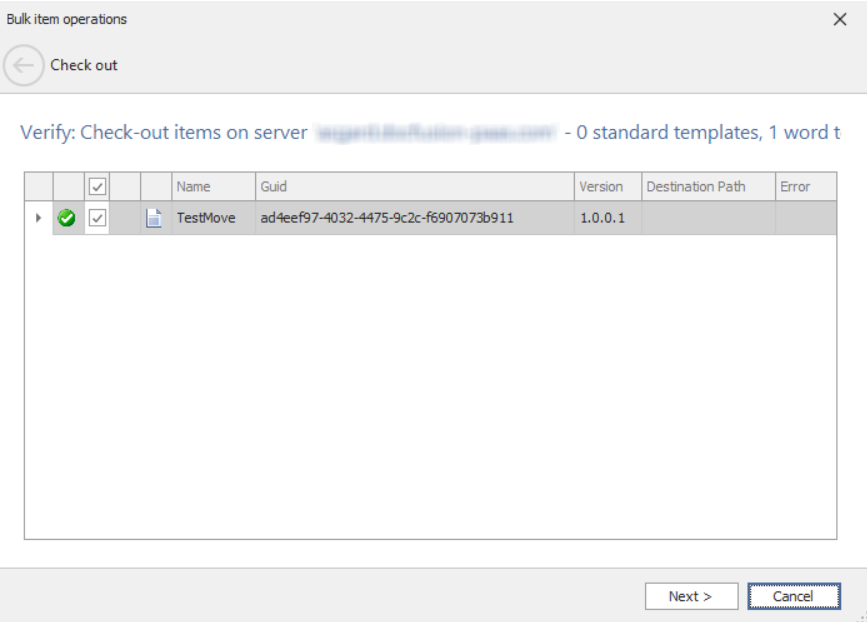
The wizard will notify you of any errors that need attention. If there are none, and the file details presented are correct, click Next.
By default, the latest version of the file is always checked-out. To retrieve previous versions, use the History command in the Items menu.
A confirmation will be displayed once the check-out has been completed. Click Finish to dismiss the wizard.
Notice that the status icon in the Asset pane now has a green checkmark on it and the tooltip reads 'Checked-out'.