The purpose of the Optional Column Smart Part is to dynamically build tables in templates based on data. It allows you to add or hide columns to existing tables using conditional logic. They work independently, or with Repeater smart parts that dynamically generate tables from available data.
The difference between the Optional Column and Optional smart parts is that the latter applies conditional logic to any content in DocFusion templates while the former is used exclusively for tables.
In this exercise, we'll assume that you're working with a table in a policy document that lists insured items. The Optional Column will be displayed when data describing the condition of the goods is available. Otherwise, the column will be hidden.

Step 1: Select or create a Repeater
Since the Optional Column Smart Part applies to any tabular content, you can select any table in your document template that was created using Microsoft Word's table tools.
If you are generating tabular content in documents using a Repeater Smart Part, then select it instead.
To create a repeater, follow this guide...
Step 2: Add a new column
With the table selected, right-click to open the Microsoft Word context menu. Now, select Add Column from the Column dropdown. This adds a column to the table, but it won't be dynamically generated yet.
The optional column can be positioned anywhere within the table.
Optionally, if your table has a header row, name the column that was just added. e.g.: Type in 'ITEM CONDITION’.
Step 3: Insert a Data Field
If you want to generate data in the newly added column (for each row), you need to use a Data Field smart part within a Repeater. If not, you can skip this step.
Add a Data Field by opening your template's Data Model from the DocFusion ribbon bar and then finding the schema property you want displayed in the Optional Column.
Now, drag the schema property into the first cell of the newly added column. This creates a Data Field within the Repeater that generates the table, and is indicated by a bounding box.
Each row of the table generated by the Repeater will now display values from the schema property. You can test this by providing relevant scenario data for the schema property and using the Preview command.
Step 4: Mark and configure the Optional Column
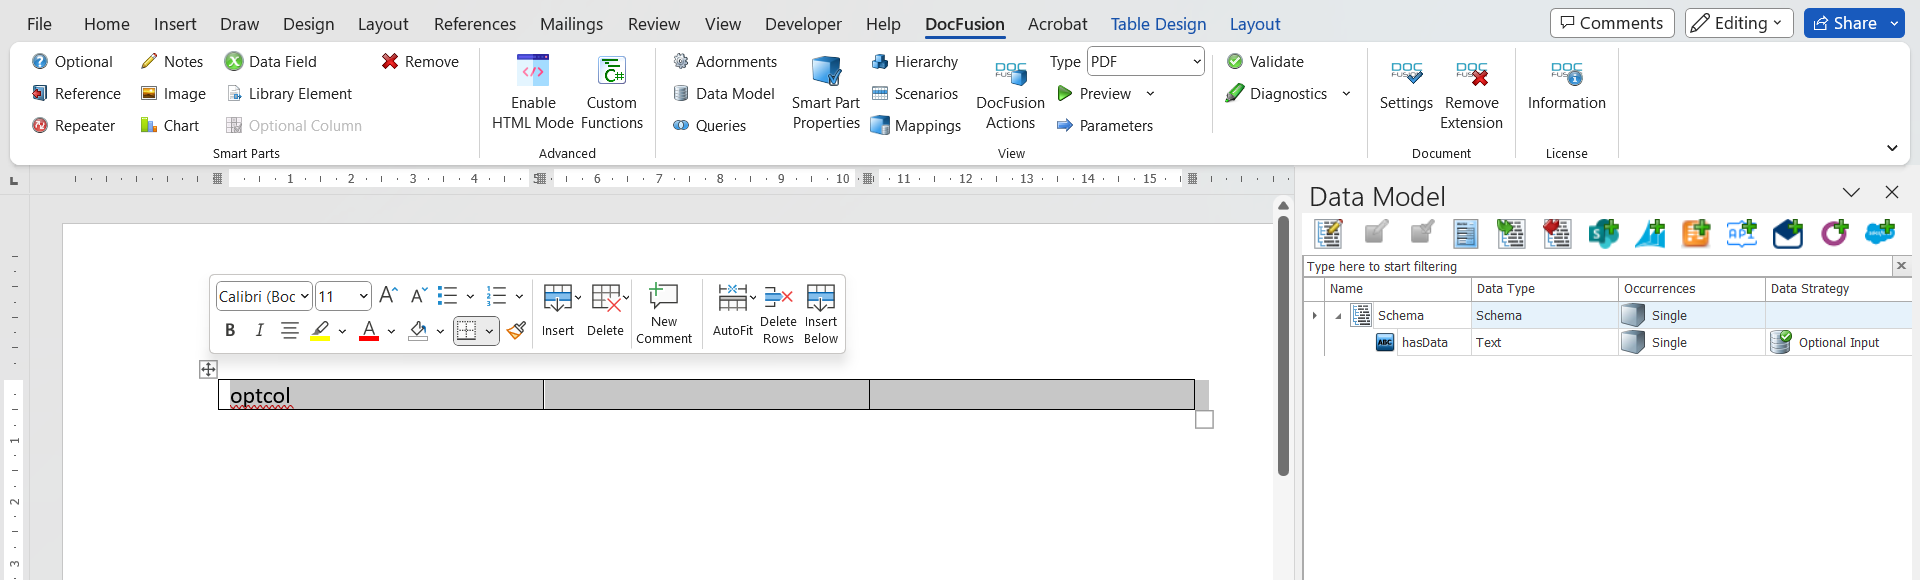
Position your cursor in the first cell (the header row) of the newly added column, then click the Optional Column Smart Part in the DocFusion ribbon bar. Notice the bounding box drawn around the header text indicates an Optional Column has been created.
With the Optional Column Smart Part selected, click Smart Part Properties in the ribbon bar. The Properties window opens.
In the Properties window, find the Value field and click the ellipses alongside. The Value Options dialog opens. Select the Condition tab if it isn’t selected by default.
In the Conditions Editor, hover your mouse over the ’AND’ operator. The option to add a condition will appear. Click + to add one.
Conditional statements are in the format <schema_property> <operand> <value>.E.g.: [@InsuredItem].[itemCondition] = 'text'. You can add as many conditional statements as needed, and evaluate them as a group.
Now, select your schema property for the Optional Column. Click the schema field in the expression (orange block) to open the list and make a selection. This is the schema property that will be evaluated.
Next change the operand. Click the equals ('=') sign to open the list of operands. Select Is Not Blank. This logic means that, if the selected schema property has a value, then this condition will evaluate to true, and the Optional Column will be displayed. Conversely, if the field doesn't have a value then the Optional Column will be hidden.
The list of available operands is context-sensitive to the data-type of the selected schema property.
Click Save to return to the Smart Part Properties window.
Step 5: Optionally hide only the current cell
The Smart Part Properties window has an option to Hide Current Cell Only. Selecting it allows you to limit the Optional Column’s conditional behaviour to only the current cell. During document generation, DocFusion will hide any cells in the table that have no values.
This doesn't suppress data in other columns or rows.
Click Save in the Smart Part Properties window to return to the document canvas.
Step 6: Preview your document
Since the conditional logic of the Optional Column Smart Part caters for two outcomes, both scenarios will need to be tested.
First, test whether the Optional Column displays when data is available (the condition evaluates to true):
- Create, or use an existing scenario, using the Scenario Editor.
- Add data for the schema property being evaluated by the Optional Column smart part.
- Click Preview. The Optional Column should be displayed in the generated document.
Next, test whether the Optional Column is hidden when data is not available (the condition evaluates to false):
- Create, or use an existing scenario, using the Scenario Editor.
- Remove any data for the schema property being evaluated by the Optional Column smart part.
- Click Preview. The Optional Column should be hidden in the generated document.